I want to introduce you to the Kalanchoe, a type of succulent known for its long-lasting flowers and water retention ability.
This plant can be grown indoors or outdoors and is a great option for beginner growers.
In this article, you will learn more about the characteristics, curiosities, and how to take care of your Kalanchoe so that it can bloom healthily. So, keep reading.
Plant Characteristics
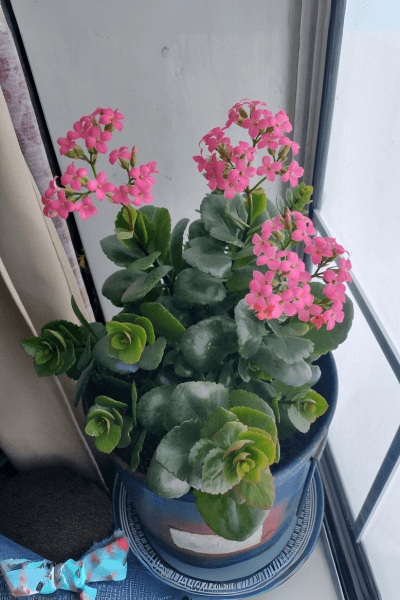
Kalanchoe is a genus with around 125 cataloged species, these are small plants that usually reach a height of 15 to 30 centimeters (5.9 to 11.8 inches), making them an excellent option for cultivation in pots or small spaces.
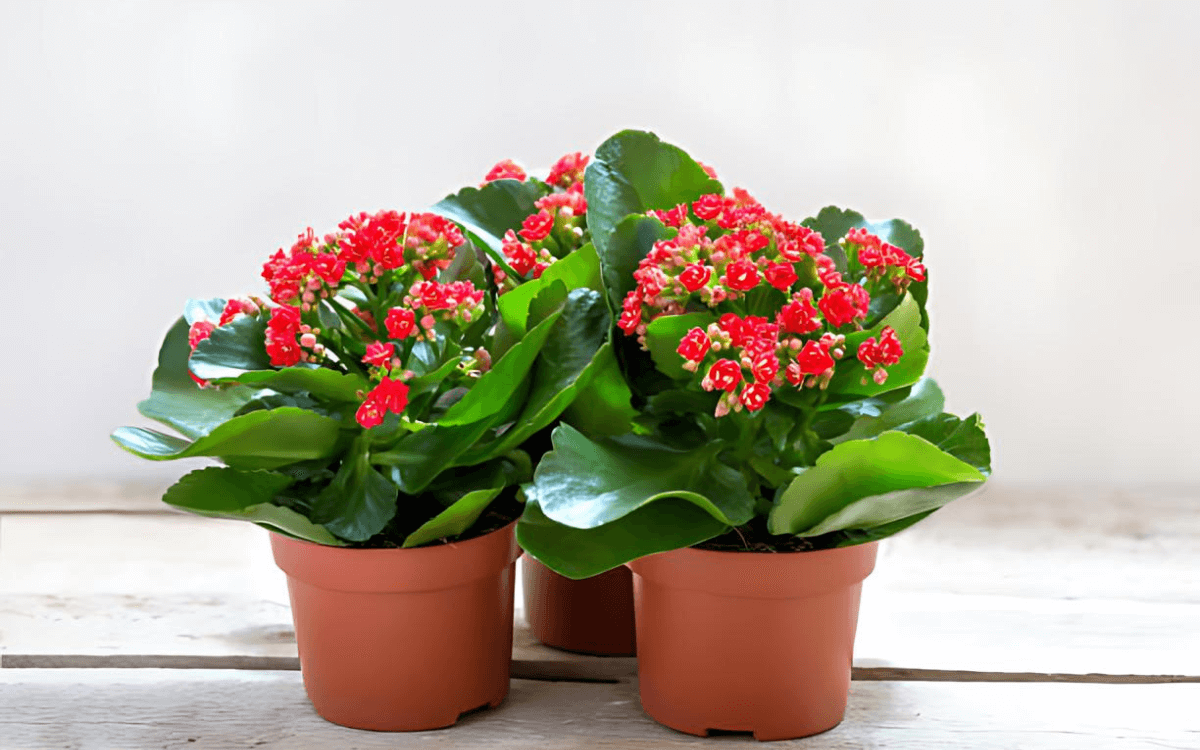
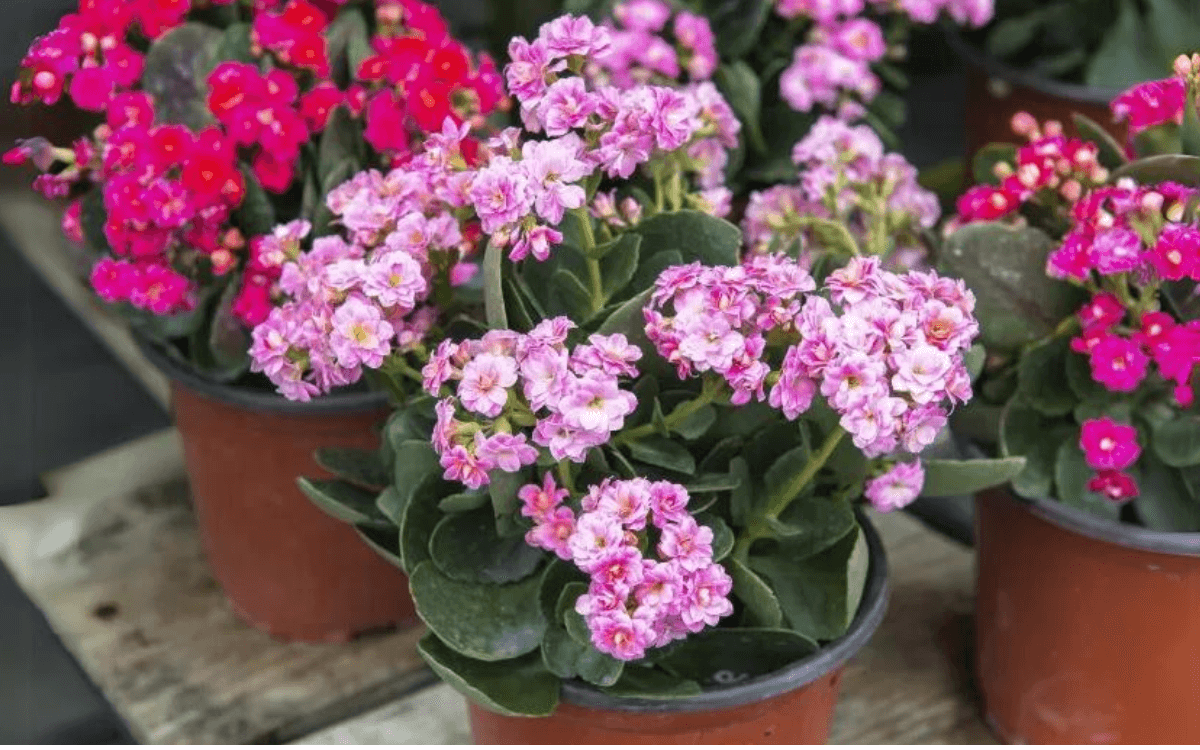
Its leaves are thick, fleshy, and arranged in a rosette formation (distributed in a circle around the stem), characteristic of succulents, which allows them to store large amounts of water.
This adaptation makes Kalanchoe a plant capable of tolerating periods without watering.
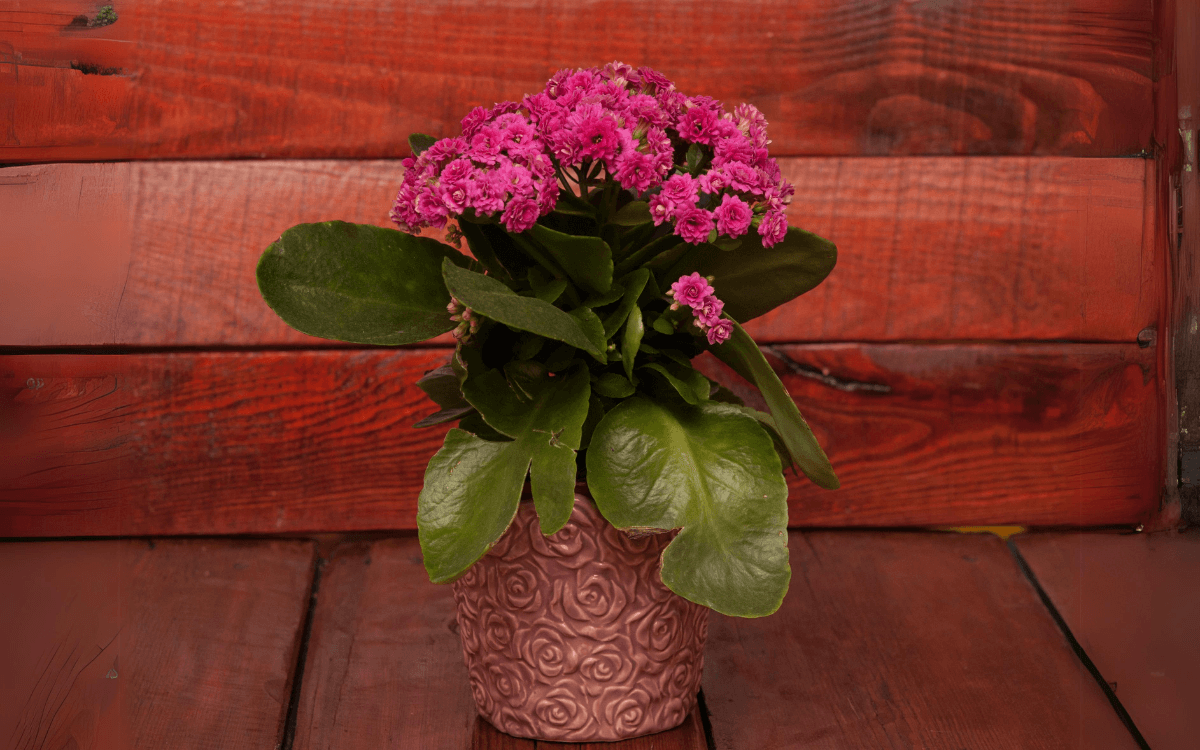
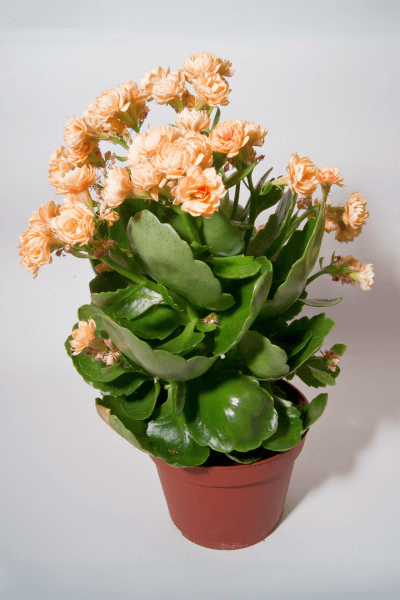
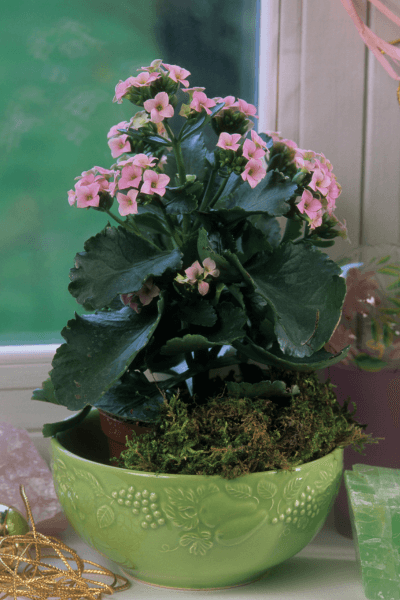
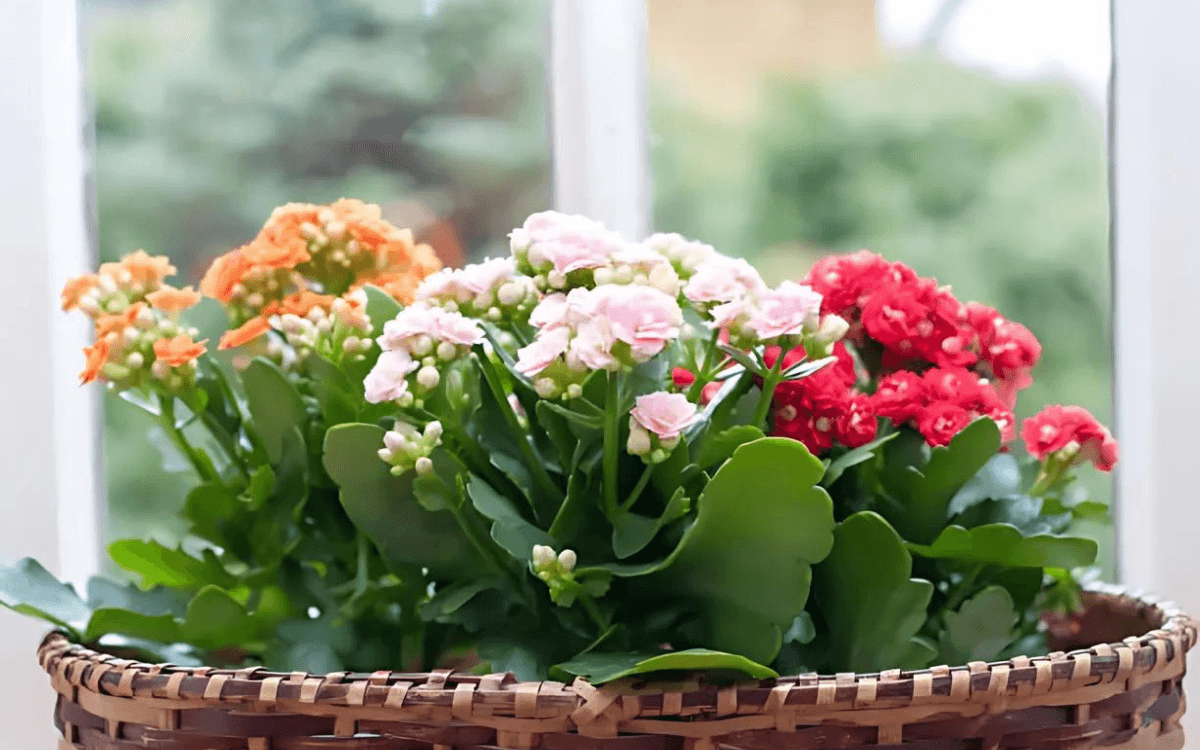
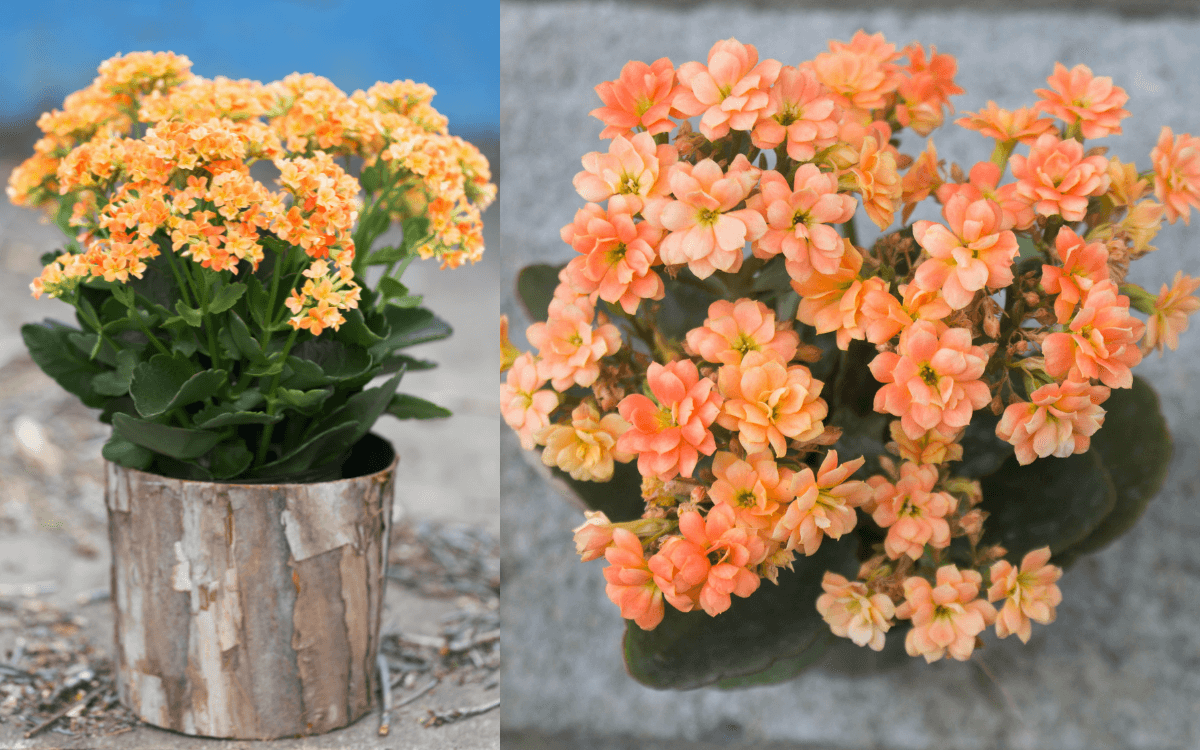
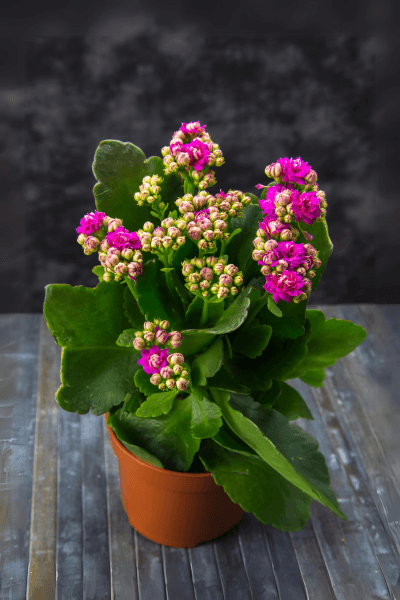
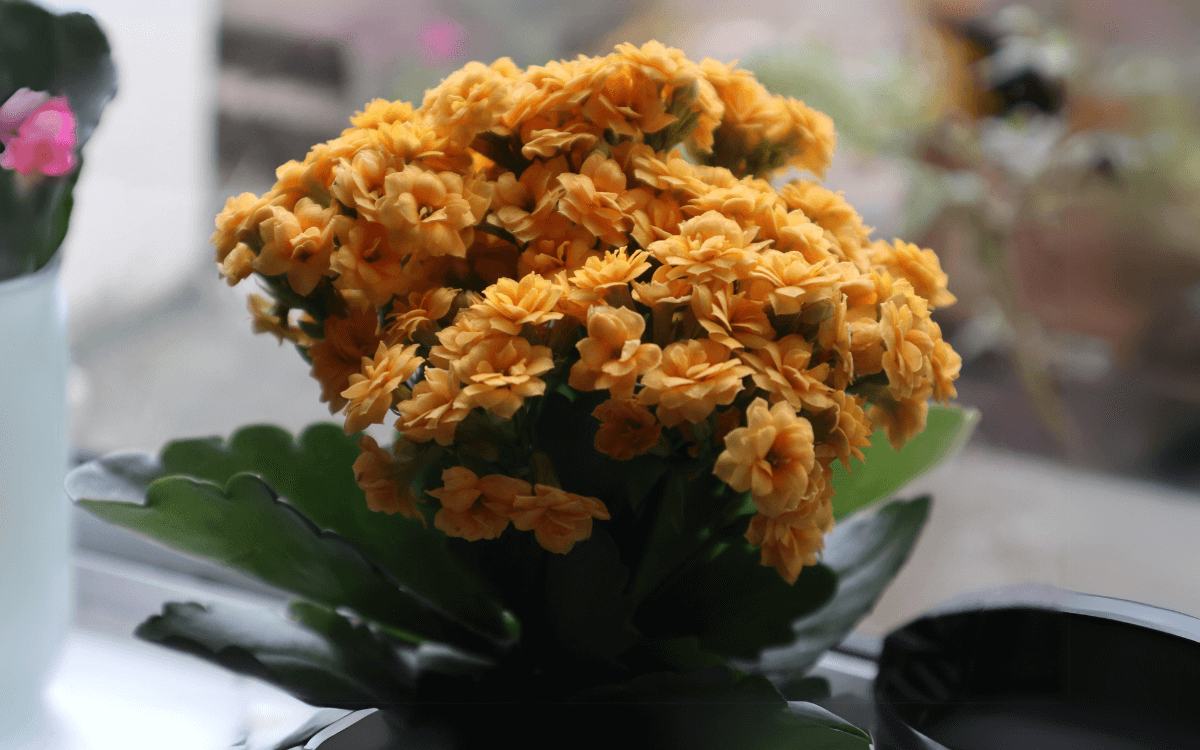
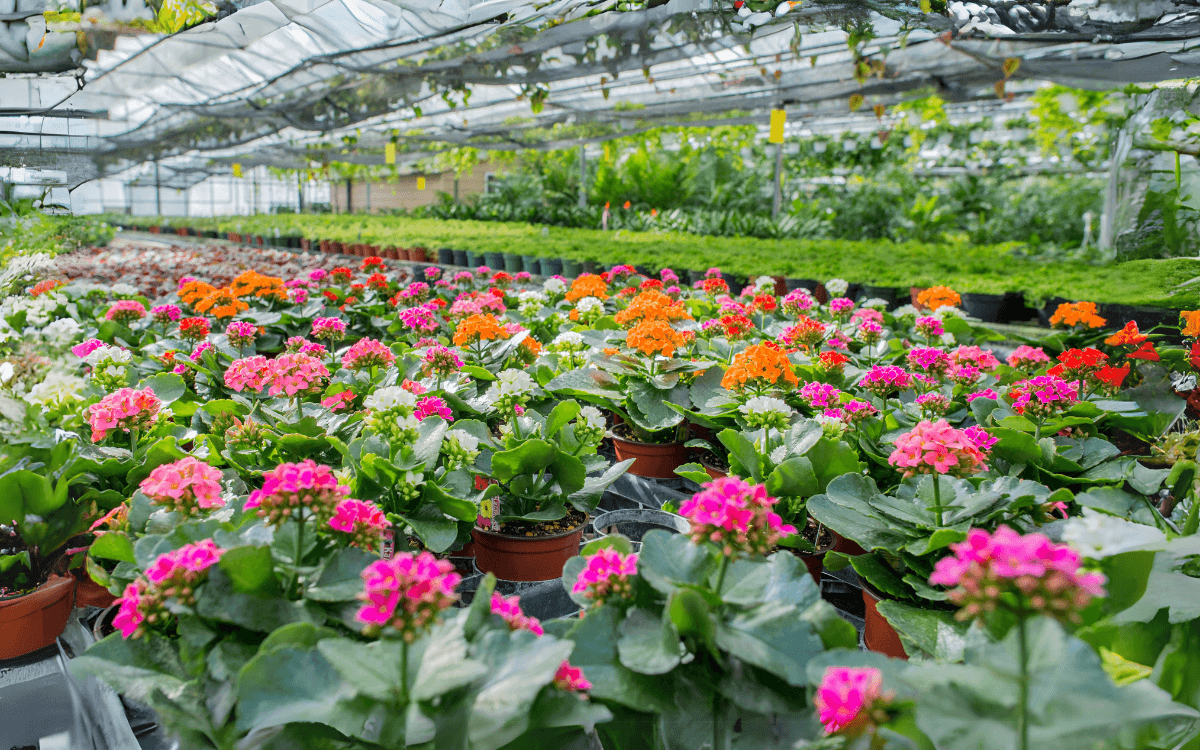
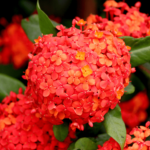
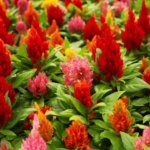
Kalanchoes bloom with an abundance of colors, including shades of:
- White
- Pink
- Red
- Orange
Its flowers are long-lasting, remaining attractive for several weeks.
The flowering period occurs from late autumn to the end of spring, providing a visual spectacle when many other plants are at rest.
Uses
Besides being used as a decorative plant, Kalanchoe is often chosen as a gift symbolizing friendship and good fortune, especially in its floral varieties like “apple blossom” and “evergreen,” which are notable for their attractive shapes and colors.
Furthermore, extracts from some Kalanchoe species are sold in the form of herbal teas, gels and ointments, available in health food stores and pharmacies, due to their medicinal properties, particularly useful for oral problems.
Before using any plant as a medicinal means, consult your doctor.
Ideal Climate for Cultivating Kalanchoe
Kalanchoe is originally from Madagascar, where it thrives in hot and dry climates.
See below the care you should take with this plant’s climate:
Lighting and Temperature
It prefers full sun or partial shade.
In hotter climates, it is crucial to protect the plant from the most intense hours of sunlight to prevent burns on its sensitive leaves.
Ideally, Kalanchoes should be positioned in places where they can receive direct sunlight during the cooler hours of the day, such as in the morning or late afternoon.
Indoors, the plant benefits from being near sunny windows, always preferring filtered or indirect light to maximize exposure without the risk of excessive exposure.
The ideal temperature for healthy growth of Kalanchoe ranges between 13°C and 27°C (55°F to 80°F), under which conditions it can bloom more effectively and maintain its vitality.
Humidity and Watering
Although it is a drought-resistant plant, Kalanchoe requires special attention to watering frequency.
The soil should be allowed to dry out completely before the next watering.
This practice helps to prevent root rot, a common condition in succulents.
Controlling humidity is crucial, and the plant benefits from environments with low relative humidity.
For proper watering, it is advisable to direct the water straight to the soil, avoiding wetting the leaves and flowers, which could promote the development of fungal diseases.
Ideal Soil
It requires well-drained and aerated soil, with a preference for substrates that prevent excessive water retention.
Using cactus and succulent soil mixes, which usually contain perlite or coarse sand, helps ensure adequate drainage and the necessary aeration for the roots.
Another option is a balanced mix that includes garden soil and organic compost in equal parts. Adding a layer of expanded clay at the bottom of the pot helps keep the substrate above adequately dry between waterings and prevents root waterlogging.
Read Too:
- Spiral Cactus – Photos and How to Care
- Peanut Cactus: How to Care, Curiosities, and Photos
- Plumbago (Leadworts plant): How to Grow and Propagate
- Maidenhair fern (Adiantum spp.) – Care Guide
- Ficus Pumila (Creeping Fig): How to Care and Propagate
- Tillandsia Air Plants: Species and Care (With Photos)
- Plectranthus Saccatus: Characteristics and How to Care
- Curiosities and How to Care for Asparagus Densiflorus
How and When to Fertilize
Fertilization of Kalanchoe should be moderate, given its slow growth nature and nutrient storage capacity.
During the active growth months, in spring and summer, it is recommended to fertilize the plant once a month. This fertilization regimen helps provide the necessary nutrients during the period when the plant is most active.
During autumn and winter, the frequency of fertilization should be reduced or even stopped, as the plant’s growth slows significantly, and excess nutrients can accumulate in the soil, potentially causing damage to the roots.
A fertilizer with an NPK formula of 4-14-8 is particularly suitable for succulents like Kalanchoe, as it provides a higher amount of phosphorus, which stimulates the formation of healthy and vibrant flowers.
Method of Application
When applying the fertilizer, it is important to follow the specific instructions of the manufacturer, especially regarding dosage.
The general recommendation is to dilute a tablespoon of fertilizer in water, as per the package instructions, and apply this mixture directly to the soil, avoiding contact with the leaves and flowers to prevent chemical burns.
Additionally, it is advisable to water the plant before applying the fertilizer. This helps distribute the nutrients evenly through the moist soil and avoids shocking the roots.
Although fertilization is important, be careful not to overdo it, as excess fertilizer is not good for your plant.
Planting and Replanting
Planting Kalanchoe should be done carefully, following these steps:
- Choice of Container: Select a pot that is proportional to the size of the seedling, ensuring a good drainage system. The pot should have enough space to accommodate future plant growth.
- Soil Preparation: place the soil you have prepared for your plant.
- Plant Positioning: Accommodate the seedling in the pot, maintaining the same soil level as the plant was previously, to avoid burying the stem. The recommended spacing between seedlings, if planting more than one, is about 25 cm (9.8 inches).
Replanting is necessary when Kalanchoe outgrows the current pot or when the current substrate is too old.
- Selection of the New Pot: Choose a new pot that is approximately 5 to 10 cm (2 to 4 inches) larger in diameter than the previous one. This provides enough space for the roots to grow without being cramped.
- Removing the Plant: Carefully remove the plant from the old pot to avoid damaging the roots. Remove the excess old soil and inspect the roots, cutting any parts that are dead or damaged.
- Replanting: Place a new layer of expanded clay at the bottom of the new pot and add fresh soil mix. Plant the Kalanchoe at the same soil level as it was previously and gently fill around the roots.
After replanting, water the plant lightly to help settle the soil and eliminate air pockets.
Keep the plant in a location where it can recover from the stress of replanting without being exposed to direct sunlight immediately.
How to Propagate – Seeds
- Start by spreading the seeds over a light and well-drained substrate.
- Cover the seeds lightly with a thin layer of the same substrate.
- Keep the soil lightly moist, but not waterlogged, to prevent the seeds from rotting.
- Place the pot in a warm and well-lit location, but not under direct sunlight. Kalanchoe seeds usually start to germinate within a few weeks.
- After germination, continue to water moderately, allowing the soil to dry a bit between waterings. When the seedlings develop their first leaves, they can be transplanted into individual containers.
How to Propagate – Cuttings
- Choose healthy and robust leaves from the mother plant. Use a sterilized scissors to cut the leaves, making a clean cut at the base.
- Leave the cut leaves in the open air in a dry location for a few days to allow the cut to heal. This reduces the risk of infection and rot when planted.
- Place the healed leaves in a moist and well-drained substrate, similar to that used for seeds. You can lay the leaf on the soil or insert the cut part lightly into the substrate.
- Keep the substrate moist (not waterlogged) and in a location with indirect light. Roots usually begin to form within a few weeks. Once the roots are established and new leaves start to appear, the new plants can be carefully transplanted into individual pots.
Pests, Diseases, and Other Problems
Mealybugs, Mites, and Aphids: These insects are attracted to plant sap. They can cause leaf yellowing, premature drop, and stunted growth. To control these pests, use natural insecticides like neem oil or soap-based solutions, applying according to the manufacturer’s instructions to avoid damaging the plant.
Root Rot: Often occurs due to excessive watering and poorly drained soil. To prevent, make sure the soil has good drainage and water the plant only when the soil is dry to the touch.
Powdery Mildew: This fungal disease forms a white layer over the leaves. Improving air circulation and reducing moisture around the plant are recommended practices for prevention. In severe cases, specific fungicides may be necessary.
Leaf Spots: Caused by fungi or excess moisture, these spots can be avoided by keeping the leaves dry and promoting good ventilation. If necessary, appropriate fungicides can be applied to control the infection.
Flower Drop: Problems such as excess or lack of water, inadequate fertilization, or excessive exposure to the sun can lead to premature flower drop. Adjusting care and observing the plant’s needs can help counter this problem.
Regularly checking your plant, keeping it in a clean and well-ventilated location are simple care steps that can help avoid most of the problems listed above.
Photos
Did you like this text? Then help us reach more people by sharing it on your social networks, and also leave a comment below.

