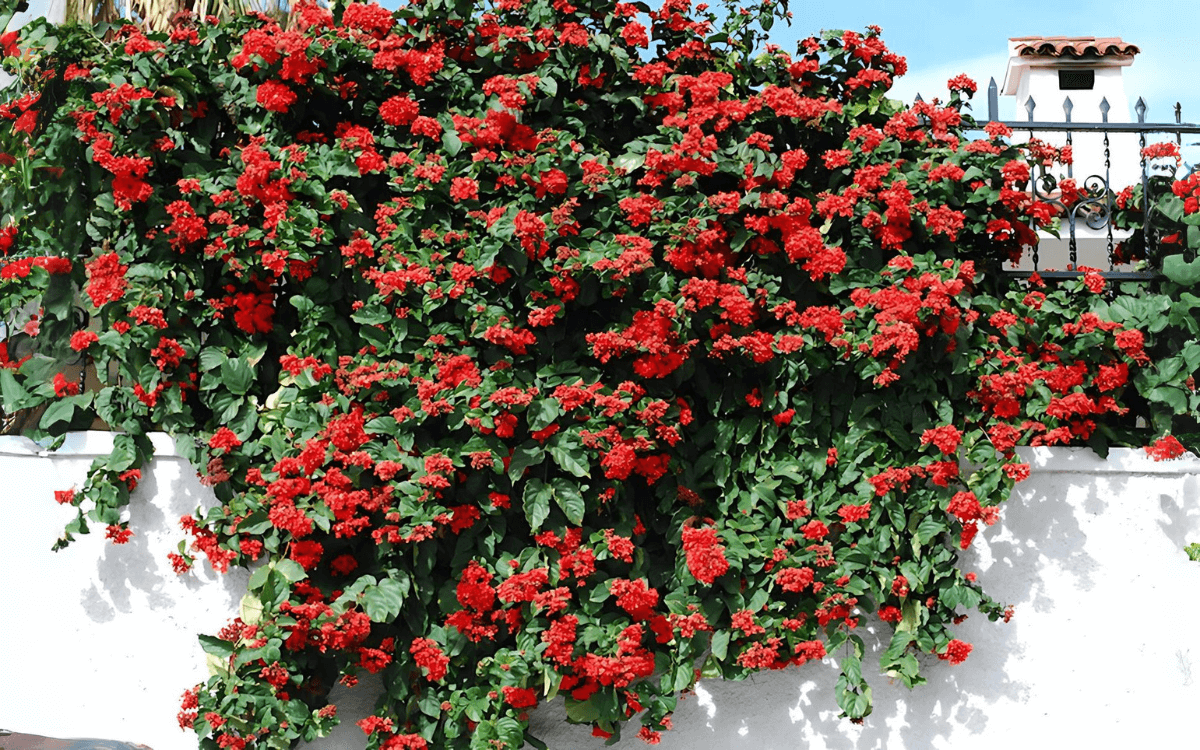
The Flaming Glorybower is a plant native to the forests and mountainous jungles of tropical Africa.
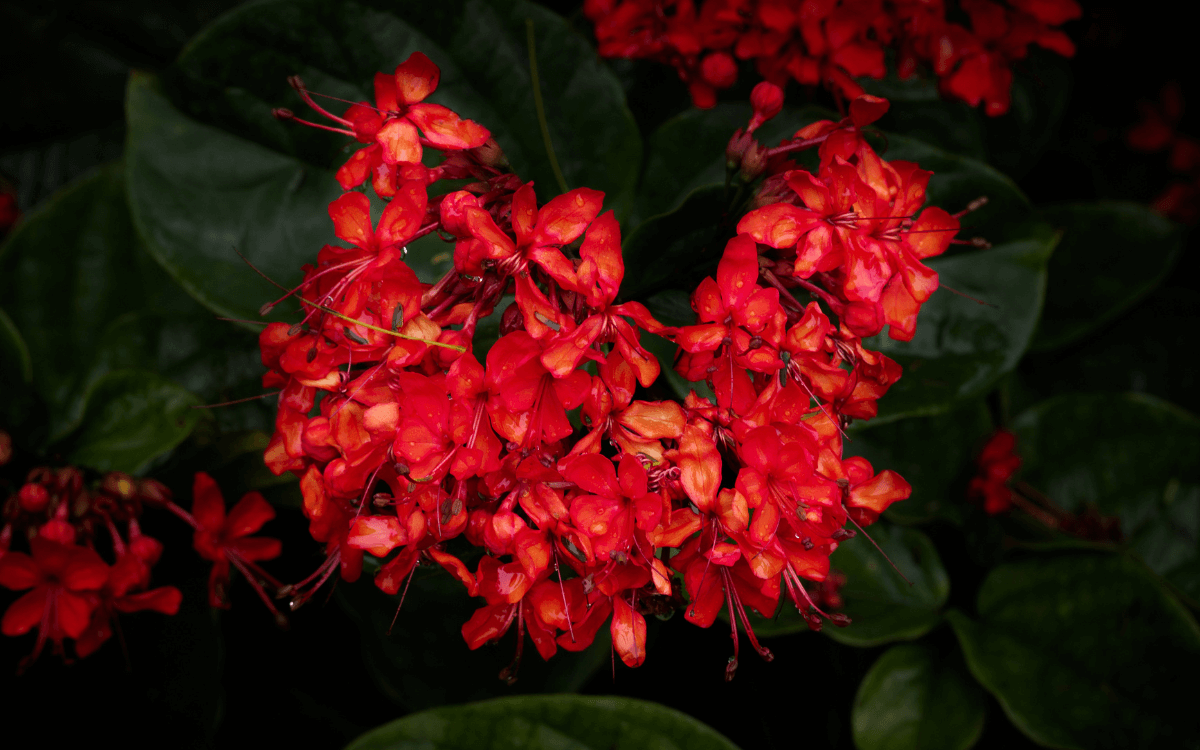
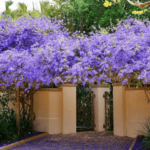
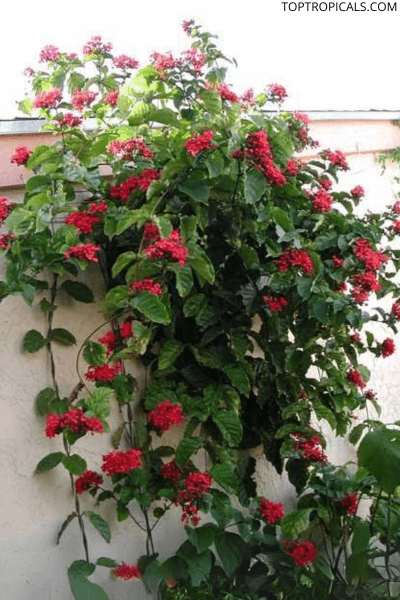
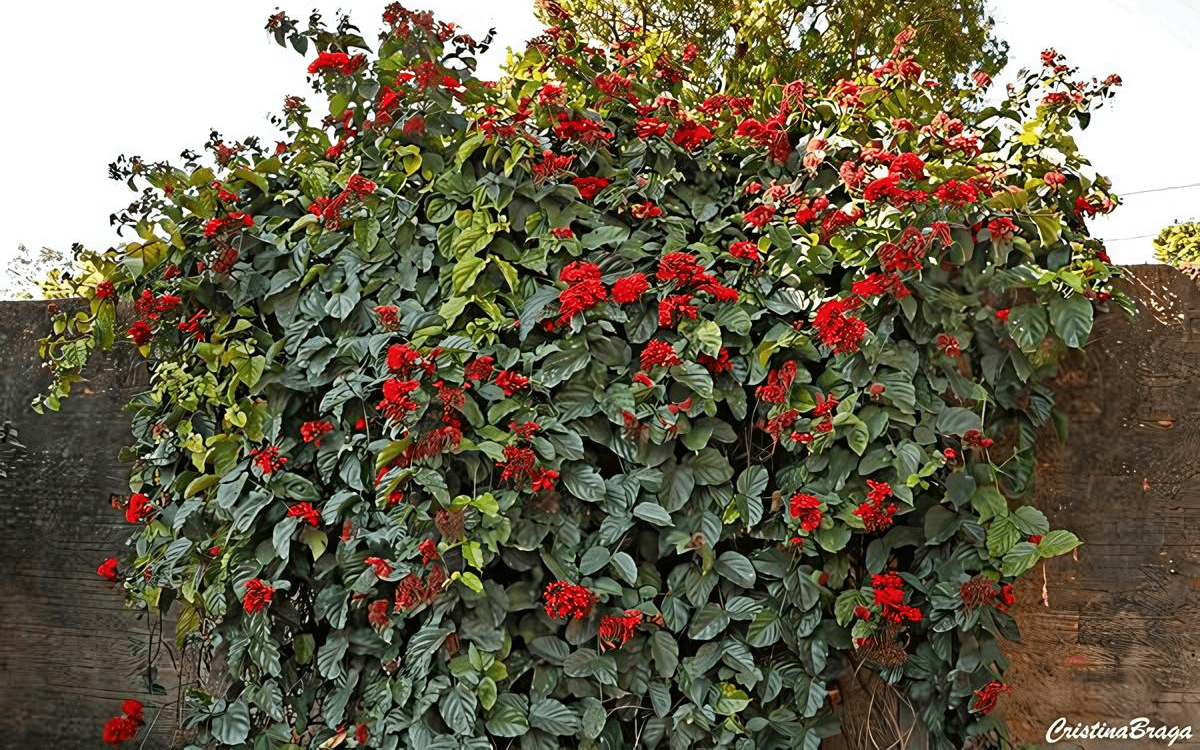
With its bright red and blue-purple flowers, this is a vine that can help decorate any outdoor space.
Characteristics and Uses of the Plant
The Flaming Glorybower is a vine that likes to climb and can grow to over 4 meters (about 13 feet) in length.
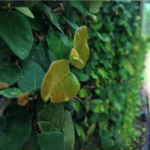
Its leaves are simple and face each other on the stem, which has a somewhat square shape. The leaves are dark green on top and lighter underneath, and are quite firm to the touch.
This plant is great for gardens in subtropical or tropical climates because, besides being beautiful, it adapts well to these environments.
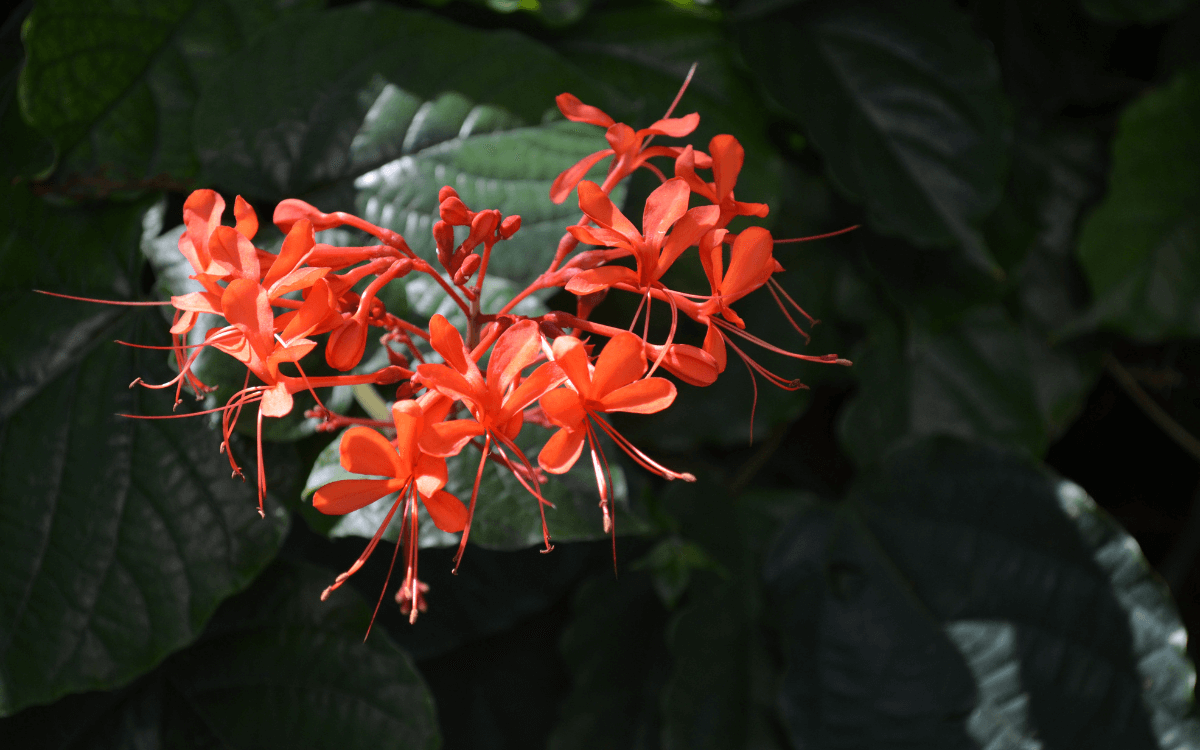
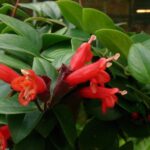
The flowers of the Flaming Glorybower are born in tight clusters and can reach up to 20 cm (about 8 inches) in width. They are quite interesting because they have a part that remains even after the flower dies and another part that extends like small arms from a thin, long tube in the middle of the flower.
Besides its ornamental value, the Flaming Glorybower plays an important role in traditional medicine in various African cultures and in Sri Lanka, where it is used to treat everything from fevers to respiratory diseases.
Ideal for use as a standalone plant or in groups, the Flaming Glorybower can be strategically positioned to create rows along avenues.
Ideal Climate
The Flaming Glorybower, originating from tropical and subtropical regions, like all plants, requires specific climatic conditions to grow and bloom fully.
Temperature
During the warmer months of the year, the plant thrives in temperatures ranging from 20°C to 25°C (68°F to 77°F). This temperature range favors healthy growth and exuberant flowering.
On extremely hot days, it is essential to ventilate the environment to prevent overheating, especially if the plant is indoors.
When exposed outdoors, care should be taken to protect it from direct air currents, which can be harmful.
During the winter, attention must be redoubled.
The Flaming Glorybower should be kept in an environment where the temperature is around 15°C (59°F). It is vital to position the plant away from direct heat sources, such as radiators and other heating devices, to prevent drying out.
Light and Humidity
The plant benefits from indirect lighting for much of the day, with shading during the hottest noon hours.
Keep the environment around the plant constantly moist to prevent it from wilting, especially during periods of intense heat or drought.
How and When to Water the Flaming Glorybower
The frequency with which you should water the Flaming Glorybower varies depending on the type of planting.
For plants in pots, planters, and ground covers, watering should be done weekly.
In flower beds, watering can be a bit less frequent, with recommended intervals of every 15 days.
This difference takes into account the larger volume of soil in the beds, which retains moisture for a longer time compared to smaller containers.
When watering, do it moderately to avoid waterlogging the soil.
The watering technique should focus on allowing the water to penetrate deeply into the soil, reaching the roots without leaving the soil waterlogged.
A good practice is to check the soil moisture before watering again, by inserting a finger into the soil up to about a centimeter deep. If it is dry, it is time to water; if it is still moist, you can wait a little longer.
It is important to avoid excessive watering, as in addition to increasing the risk of fungal diseases, too much moisture can lead to root rot, compromising the plant’s health.
Adjust the frequency and amount of watering according to climatic conditions and the plant’s responses to ensure optimal development.
Read too:
- How to Grow and Care for Kalanchoe (With Photos)
- Spiral Cactus – Photos and How to Care
- Peanut Cactus: How to Care, Curiosities, and Photos
- Plumbago (Leadworts plant): How to Grow and Propagate
- Maidenhair fern (Adiantum spp.) – Care Guide
Ideal Soil
The Flaming Glorybower is a plant that adapts to a wide variety of soils, but prefers soils that are fertile and rich in organic matter.
The presence of organic matter not only provides essential nutrients for healthy plant growth but also helps maintain soil moisture, essential for root development.
We recommend a soil mix that contains a good amount of organic matter, with the addition of 30% coarse sand or agricultural perlite. This combination ensures good drainage, preventing soil waterlogging, which can be harmful to the plant.
How to Fertilize
Although the Flaming Glorybower does not require fertilization for basic growth, applying a fertilizer can stimulate a more abundant and showy flowering.
The recommended fertilizer is NPK with the formulation 4-14-8, which is balanced in a way to promote floral development without overloading the plant with excess nitrogen, which could stimulate leaf growth at the expense of flowers.
Fertilization should strictly follow the manufacturer’s instructions for quantity and frequency, usually applied during the plant’s active growth period in spring and summer.
Normally, applying the fertilizer once every two or three months during the growth season is enough to keep the plant healthy and flowering vigorously.
Planting
Due to its potentially invasive nature, the Flaming Glorybower should be planted in places where its growth can be controlled.
Spaces confined by walls or pavements are ideal, as is planting in pots, which not only contains its expansion but also allows for decorating spaces such as balconies and terraces.
Planting in groups, rows, or isolated along avenues is also very effective for maximum visual impact.
Before planting, prepare the chosen site by digging a hole that is significantly larger than the plant’s root ball.
This is crucial for facilitating root expansion in a new environment.
After that, carefully place the plant in the new hole.
Fill the remaining space with the prepared soil and gently compact around the base to eliminate air pockets and ensure firm contact between the roots and soil.
How to Propagate
This plant can be propagated using seeds, semi-hardwood cuttings, and taking advantage of natural sprouts.
Each method has its particularities and can be chosen based on what best adapts to the needs and environment of the grower.
Propagation by Seeds
- Prepare the seeds: Before planting, you need to scarify the seeds. This means that you will break or soften the outer shell of the seeds. This helps the seeds absorb water and germinate faster.
- Soak the seeds: Place the seeds in water for one or two days so they can absorb plenty of moisture.
- Plant the seeds: Use trays or plastic bags with holes. Place a soil mix that is rich in organic material. Sow the seeds in this mix.
- Keep the soil moist: It is important to keep the soil always moist, but be careful not to waterlog it.
- Wait for germination: Seeds usually start to sprout between 15 and 45 days.
- Protect the young seedlings: When the plants begin to grow, protect them from direct sunlight.
- Transplant the seedlings: Wait until the seedlings are about 10 centimeters (about 4 inches) tall and the roots start to come out through the holes in the bags. Transplant them to pots or directly into the soil at the definitive location where you want them to grow.
Propagation by Semi-Hardwood Cuttings
- Choose the branches: Select vigorous and healthy semi-hardwood branches, about 20 centimeters (about 8 inches) long.
- Prepare the cuttings: Remove the leaves from the lower part of the branch. Leave only two leaves at the top. Cut the base of the branch at an angle (bevel cut).
- Use rooting hormone: Dip the cut base of the cuttings in a rooting solution for 5 to 10 minutes. This helps stimulate root growth.
- Plant the cuttings: Use a container with a mix of peat and washed sand in equal parts. Place the cuttings in this mix.
- Create a humid environment: Cover the container with a sturdy, transparent plastic bag. This helps maintain high humidity.
- Place the container in a shaded location.
- Care for the cuttings: The success rate of this technique is quite high, about 90%. With proper care, the cuttings should start to develop roots and grow well.
Taking Advantage of Natural Sprouts
- Find the sprouts: Look around the mother plant to identify sprouts that have appeared spontaneously.
- Select sprouts with roots: With care, dig around the mother plant so as not to damage the roots. Choose sprouts that already have their own roots formed.
- Replant the sprouts: Transfer the selected sprouts to the definitive location where you want them to grow. Make sure the soil is suitable for plant growth.
- Water regularly: After replanting, water the new plantings regularly.
Pests, Diseases, and Other Problems
Aphids, Scale Insects, and Mites: These are the most common insects that can infest the Flaming Glorybower. They suck the sap from the leaves and stems, weakening the plant and can lead to deformations and leaf drop.
Control of these pests can be done through the application of specific insecticides. It is recommended to choose products that are effective, but at the same time gentle so as not to harm the plant or the environment.
Leaf Drop: The Flaming Glorybower may lose leaves due to water stress or exposure to intense cold.
Ensuring adequate irrigation and protecting the plant from cold drafts and frosts are important preventive measures.
Tip Necrosis: This condition (symptom in which the tips of the branches or leaves start to die or rot) is often observed in plants kept in overly moist or poorly drained soils.
Adjusting the soil to improve drainage and avoiding excessive watering are the best ways to prevent this problem.
Excessive Branching: Often occurs due to excessive nitrogen fertilization, which, in addition to causing disproportionate vegetative growth, can favor the incidence of pests.
Monitoring and adjusting the amount of nitrogen provided to the plant can help avoid this condition.
Foliar Spots: Can be prevented through adequate ventilation and maintaining an appropriate level of moisture, without leaving the leaves excessively wet, which can favor the development of fungi.
Rust: This severe fungal disease causes leaf drop and eventually can lead to plant death if not controlled.
The use of appropriate fungicides is recommended to combat rust.
It is important to apply the treatment at the first sign of the disease and follow the application instructions to avoid further damage to the plant.
Following the cultivation tips taught in this article, you will be able to maintain the health of your Clerodendrum splendens (scientific name of this species).
If you liked this text, share it on your social networks and also leave a comment below, because I will be very happy to interact with you.
See you next time 😀

