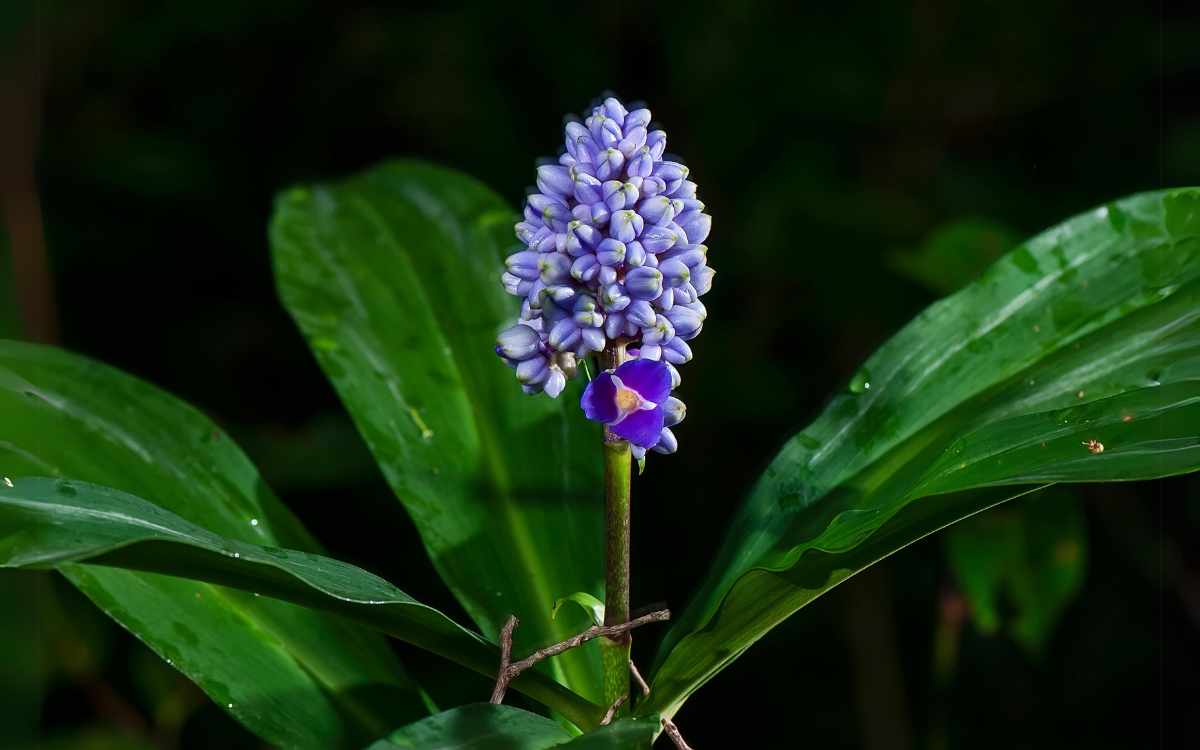
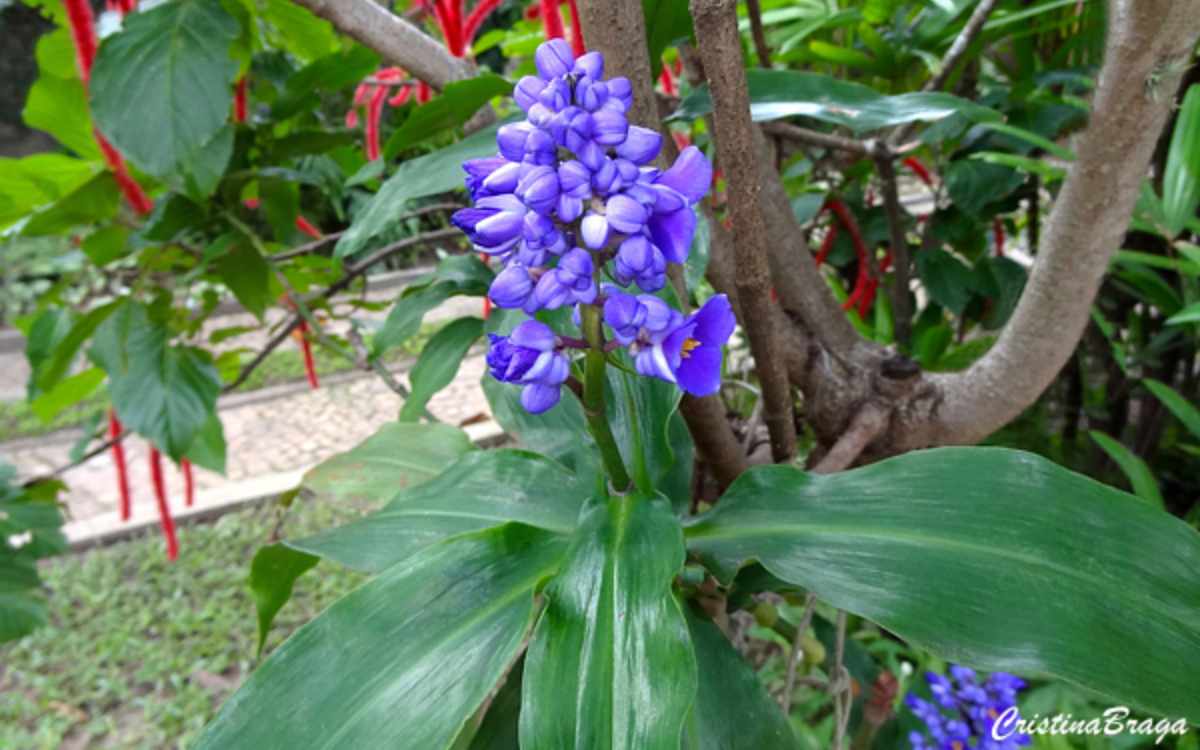
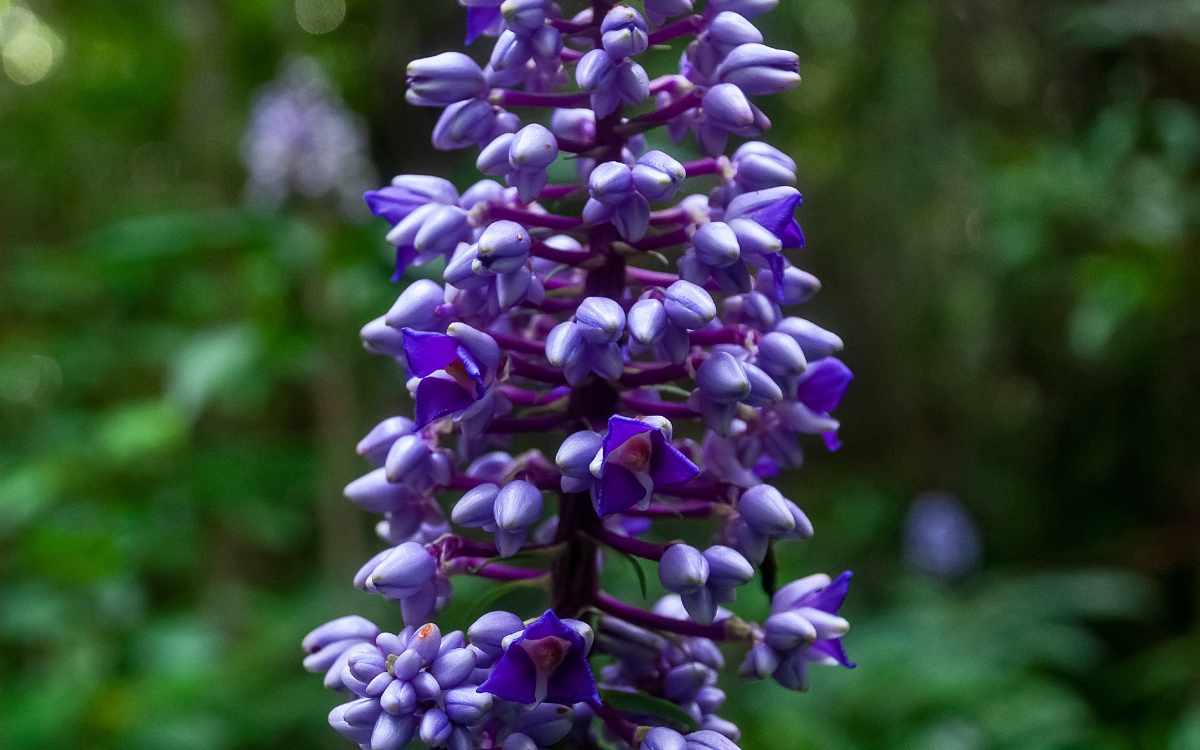
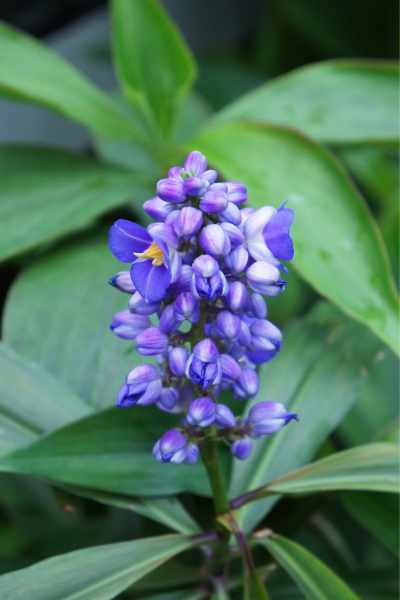
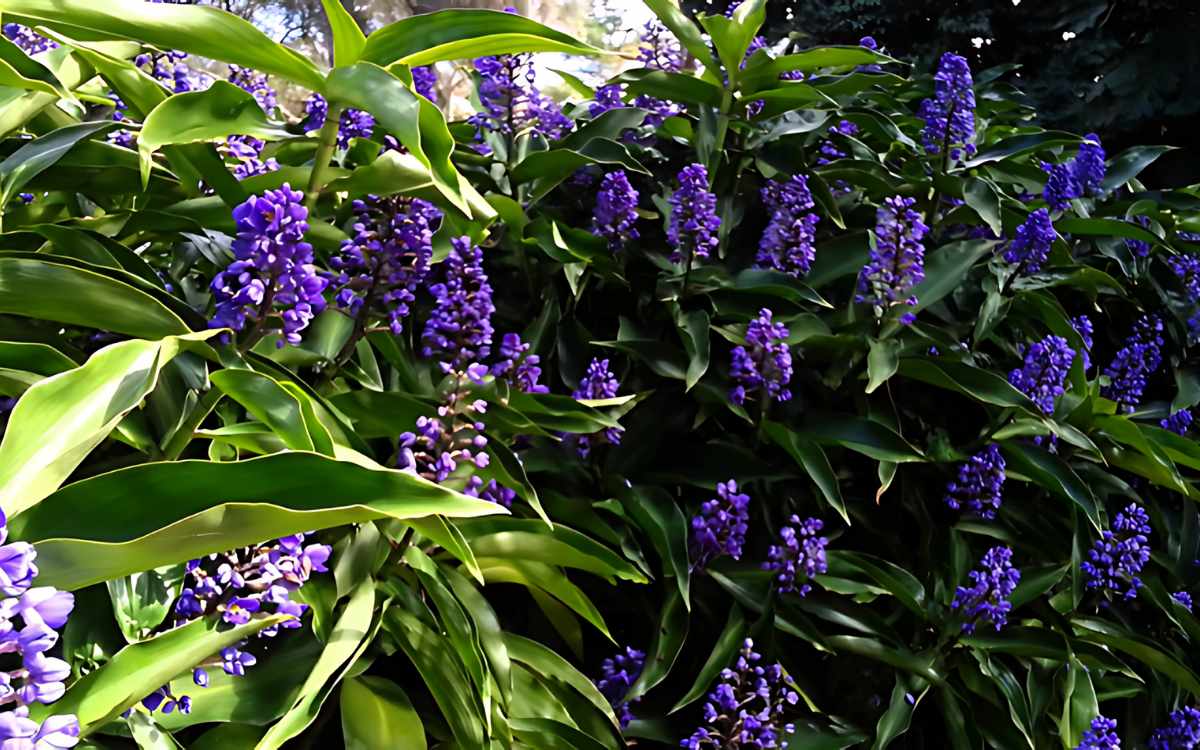
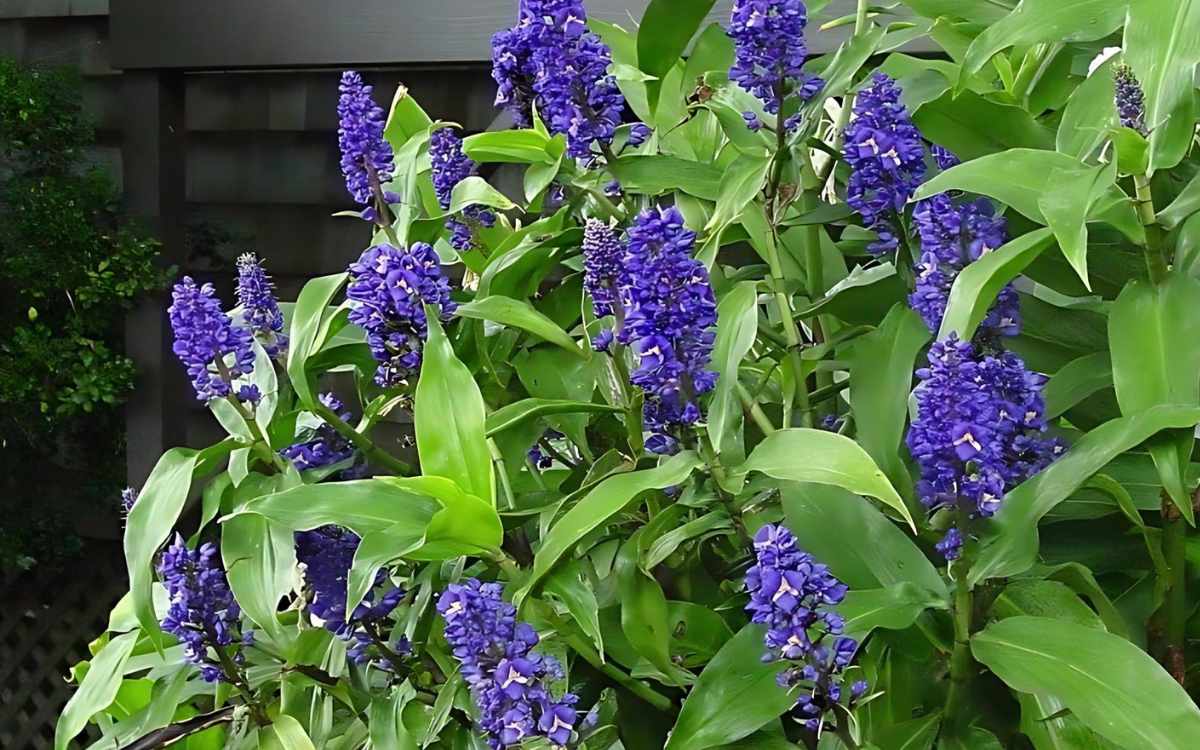
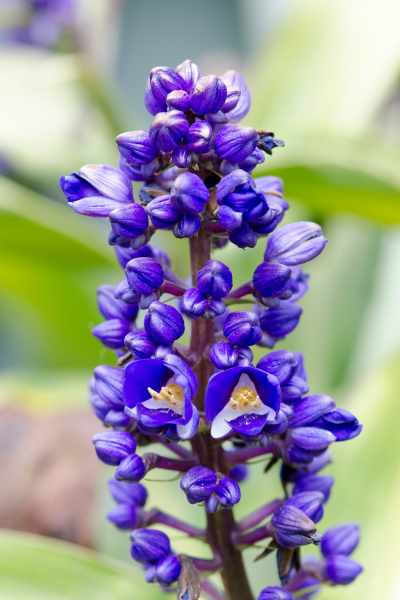
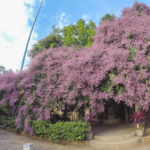
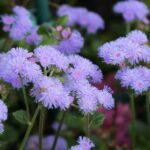
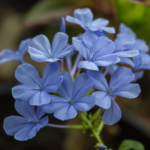
The blue ginger (Dichorisandra thyrsiflora) is a plant native to southeastern Brazil that belongs to the Commelinaceae family and adapts particularly well to tropical environments.
The leaves of this plant are broad and shiny, complementing the striking blue flowers that form.
Being a popular choice for decoration in home gardens and public places, blue ginger is also edible and cultivated for its medicinal properties. This plant is rich in a variety of important macro and micronutrients, including calcium, iron, phosphorus, and vitamin C.
The medicinal properties of blue ginger also include anti-inflammatory, antioxidant, and analgesic actions, being used in the treatment of headaches, inflammation, and digestive problems.
This is not a plant considered toxic to humans or animals, but its consumption should be moderate and, before using any plant as a medicinal medium, consult your doctor.
Keep reading, as below you will learn the necessary care to keep your blue ginger healthy.
Ideal Temperature
The ideal temperature range for blue ginger is between 15°C and 35°C (59°F and 95°F).
Although the plant can survive brief periods of frost and recover quickly after the cold, temperatures consistently below 15°C (59°F) can be harmful, compromising the health and vigor of the plant.
At the opposite extreme, temperatures above 35°C (95°F) are also unfavorable, possibly preventing blooming and adversely affecting the overall development of the plant.
Lighting
This plant requires bright, but indirect light, especially during the spring and summer months.
A moderate exposure to direct sunlight, especially during the cooler hours of the day, can benefit the plant.
However, it is vital to avoid direct sunlight during the hottest hours, as this can cause burns on the leaves and other heat-related stresses.
See also these other flowering plants:
- Gardenia: Characteristics, How to Care and Propagate
- Gazania – How to Grow and Propagate
- Blood Lily (Scadoxus Multiflorus): How to Grow and Care
- Congea Tomentosa (Wooly Congea): Characteristics and Care
Watering
For blue ginger, watering should be done regularly but moderately.
It is essential that the soil remains moist, but never saturated.
A good practice is to water whenever the top layer of soil begins to dry out. This usually prevents waterlogging, allowing the moisture to be sufficient to sustain the plant without causing the saturation that leads to fungus development.
During the hotter and drier months, the plant may require more frequent watering, as climatic conditions cause the water to evaporate more quickly from the soil.
Conversely, in autumn and winter, it is recommended to reduce the amount of water, allowing the soil to dry more between waterings.
When watering blue ginger, wet around the base of the plant, avoiding pouring directly over the crown or leaves.
Ideal Soil
Blue ginger should be planted in a substrate rich in organic material that is capable of retaining moisture without allowing water to accumulate at the roots
Materials such as worm humus, manure, and vermiculite are recommended, as they not only help retain moisture but also provide essential nutrients.
Adding sand to the substrate improves drainage, ensuring the ideal balance of moisture for the roots.
Fertilization
For blue ginger, the use of complete fertilizers, which contain a balance of essential nutrients, is recommended.
A fertilizer of the type 15-15-15, which offers equal amounts of nitrogen, phosphorus, and potassium, is generally suitable for most growth phases of the plant.
These fertilizers are available in liquid form, which facilitates dilution and application, ensuring an even distribution of nutrients.
When fertilizing follow the packaging recommendations, so that fertilization is not done excessively.
During the growth season, which generally occurs from September to June, fertilization should be carried out monthly.
However, if blue ginger is planted in pots, it may be necessary to adjust the frequency of fertilization to compensate for the limited space and more rapid depletion of nutrients.
Planting
To plant blue ginger, a hole should be dug that is approximately twice the size of the seedling’s container.
This ensures enough space for the roots to expand without restrictions.
Position the seedling inside the hole and carefully cover it with soil, ensuring that the rhizome is about 2 inches (5 cm) below the soil surface for protection and stability.
Water immediately after planting to establish initial contact between the roots and the new soil.
Read too:
- Clitoria Ternatea (Butterfly Pea): Characteristics and Care
- Flaming Glorybower: How to Care and Propagate
- How to Grow and Care for Kalanchoe (With Photos)
Replanting
The replanting of blue ginger should be done if the plant is in pots, on average every 2 years.
During the replanting process, it is crucial to choose a new pot that is slightly larger than the previous one to avoid root compression.
When replanting, first carefully remove the plant from the current pot, inspecting the roots for any signs of disease or rot. Cut damaged parts of the roots if necessary.
Prepare the new pot with a mix of fresh, well-drained soil, enriched with organic matter and a bit of sand to improve drainage.
Plant the blue ginger in the new pot, ensuring that it is placed at the same depth as it was previously.
Water the plant after replanting to help establish the roots in the new environment.
Propagation of Blue Ginger
The propagation of blue ginger, Dichorisandra thyrsiflora, is a simple and effective process. The most common multiplication techniques include the use of cuttings and the division of rhizomes, both practical methods for gardeners of all levels of experience.
Propagation by Cuttings
- To begin, select a mature and healthy plant during spring or summer, which is the best period to cut cuttings, due to the greater vigor of the plant.
- Use a sterilized knife or pruning shears to cut a section of the stem approximately 4 to 6 inches (10 to 15 cm) long, making sure to include some leaves and, if possible, aerial roots.
- Make the cut just below a node, as this increases the chances of rooting.
- Allow the cutting to heal and dry for a few hours before planting to avoid infections.
- Prepare a container with a mix of sand and substrate to ensure good drainage.
- Plant the cutting in the substrate, leaving about 1 inch (2.5 cm) above the surface.
- Water lightly to keep the soil moist, but be careful not to saturate.
- Position the container in a shaded and protected area from strong winds to minimize the stress of the cutting.
- Maintain constant soil moisture, but without saturating, to promote rooting.
- In about a month, the cuttings should begin to develop new roots and shoots.
Propagation by Rhizome Division
- Carefully dig up the plant, preferably in early spring or late winter.
- Clean the excess dirt from the rhizomes and inspect them to remove any diseased or damaged part.
- Divide the rhizomes into sections, each with at least one sprout or vegetative eye.
- Ensure that each section has enough roots to support new growth.
- Plant each section in its own container or space in the garden, following the planting recommendations for fertile and well-drained soil.
- Water immediately and keep the soil moist to encourage establishment.
Pests
Spider mites, Scale insects, and Aphids: These are some of the most common pests that can infest blue ginger. These small insects suck the sap from the leaves, weakening the plant and leading to a wilted and discolored appearance.
Whiteflies and Thrips: These insects not only damage the plant by themselves but can also be vectors of various viral diseases. The presence of these pests usually results in spots and deformations on the leaves.
Diseases
Red Rot: Although better known for affecting sugarcane, this fungal disease can also attack blue ginger, causing black or brown spots on the leaves. Transmission occurs through contaminated water or air, making it crucial to maintain good drainage practices and avoid excessive moisture.
Leaf Spot and Powdery Mildew: These are common fungal problems that appear due to excessive moisture and poor air circulation. Keeping the leaves dry and providing sufficient space between plants can help prevent these diseases.
Root Rot: This disease is caused by overly moist and poorly drained soil conditions. Choosing a well-drained substrate and careful watering are essential to avoid this condition.
Care to Maintain Health
Natural Control: For pest control, natural methods such as the application of diluted coconut soap or alcohol can be effective. These solutions help control the pest population without harming the plant or the environment.
Basic Care: Keeping the area around the plants clean and free of debris can reduce the risk of disease. Removing dead or infected leaves is crucial to prevent the spread of fungal diseases.
Regular Surveillance: Regularly inspecting the plants allows for early detection of problems, facilitating treatment before they spread or cause significant damage.

